How to Get Started with Sei V2 (SEI)
Recently, Sei Blog shares an interesting topic on "Getting Started with Sei V2" This comprehensive guide is designed to help users start using Sei and get Sei tokens, no matter the experience level or which platform the users currently use. Here’s what you need to know to get started.
Essential Requirements
To begin your journey with Sei V2, you will need:
- A self-custody wallet, such as Metamask or Compass.
- Sei tokens on a Centralized Exchange (CEX) or stablecoins in a self-custody wallet.
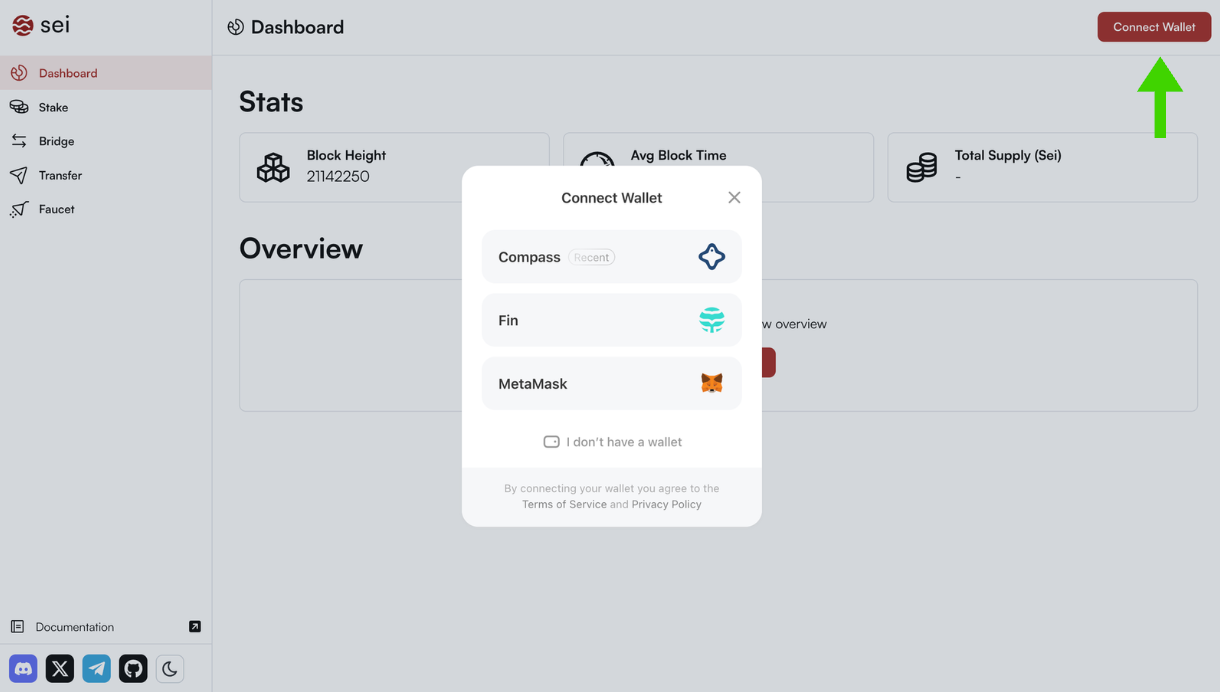
Connecting Your Wallet to Sei
When you connect your wallet to an application on Sei, you should automatically be prompted to join the correct network in your wallet interface. It's recommended to use the new app.sei.io for a smoother experience.
You can find network details here to manually add the Sei Network: Sei Network Setup. Alternatively, follow the instructions shared by your chosen wallet provider to add a new network manually.
Linking Your EVM Wallet
To start using apps on Sei V2, users are strongly recommended to visit app.sei.io and follow the instructions to link their wallet first. After connecting your wallet to the Sei App, navigate to the "dashboard" tab to begin the wallet linking process.
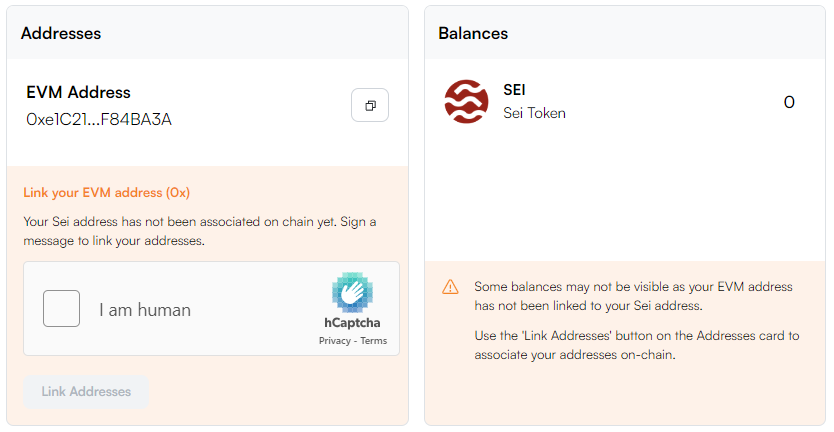
This process will help you discover both the EVM address and the Sei address associated with your account on Sei. You will be prompted to sign a message to confirm the linkage.
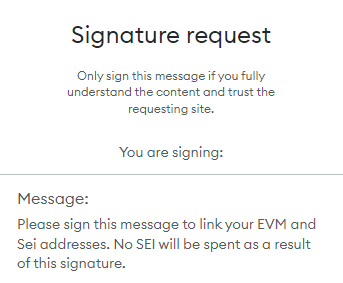
After completing this process, you will have both the "sei" and "evm" wallet addresses associated with your account. It is recommended that every user goes through this process as many apps on Sei utilize cross VM functionality.
Onboarding from Centralized Exchanges
If you’re coming to Sei from a centralized exchange, the transition to using both Sei and 0x wallet addresses on the Sei blockchain is straightforward. Over time, these exchanges will upgrade their systems to support both types of addresses.
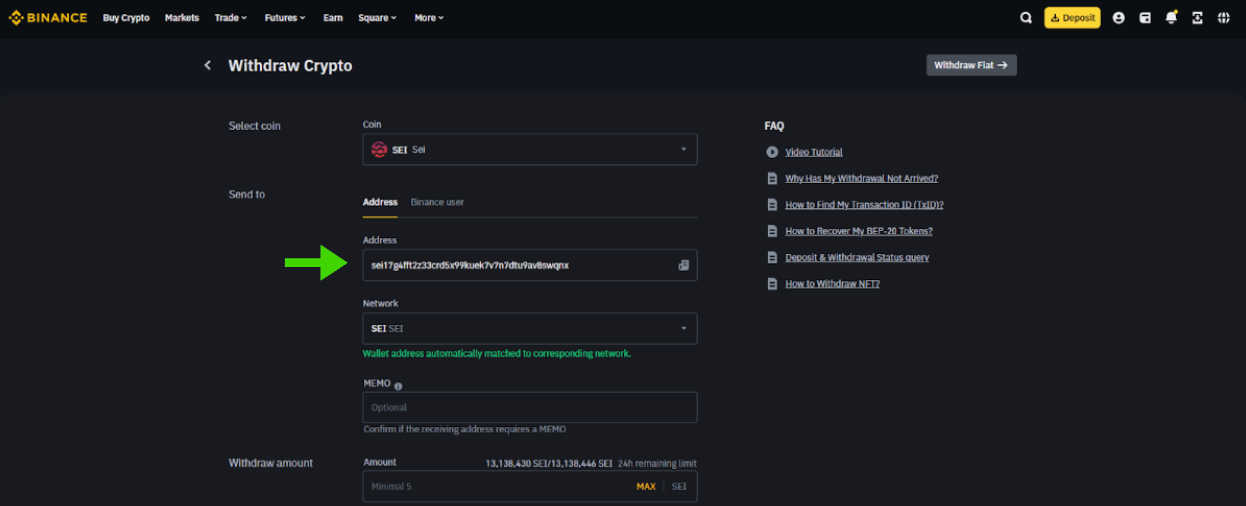
Withdrawing to a Sei Address
Users can simply copy their address starting with “sei…” and paste it into the withdrawal page on their chosen CEX. No memo is required to withdraw from a CEX, but you may need to provide a memo when depositing Sei back onto a CEX. Refer to your chosen CEX’s guidelines to ensure your assets are transferred safely.
Withdrawing to an Address Starting in "0x"
While CEXes integrate with Sei V2, users will need to follow specific instructions to get started on Sei with a Metamask or other EVM wallet. If you have an "0x" address and wish to onboard to Sei from a CEX, you need to find your corresponding Sei address first by linking your wallet as shown previously in this guide.
Bridging to Sei Blockchain
To move assets onto the Sei Blockchain from another network, a variety of bridges are recommended via the Sei app. Here’s how it works:
- Visit app.sei.io and navigate to the "Bridge" tab.
- Select the Origin Chain and choose the asset you wish to bridge to the Sei blockchain.
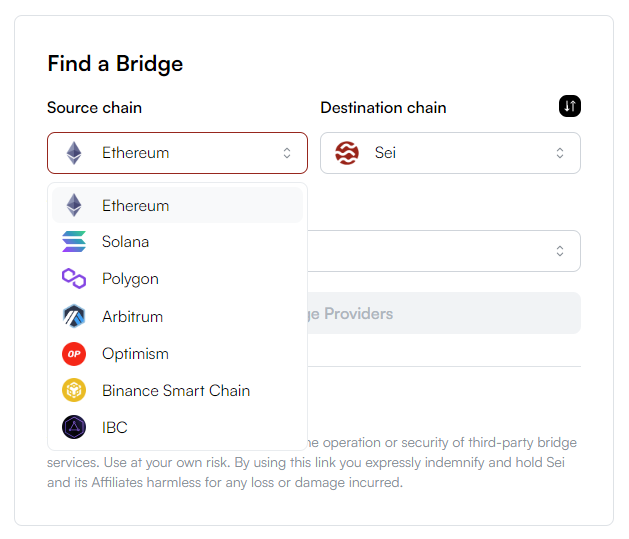
- Based on your asset and its origin chain, the Sei app will suggest a third-party bridge site.
While bridge providers strive to eliminate risks, users should always do their research.
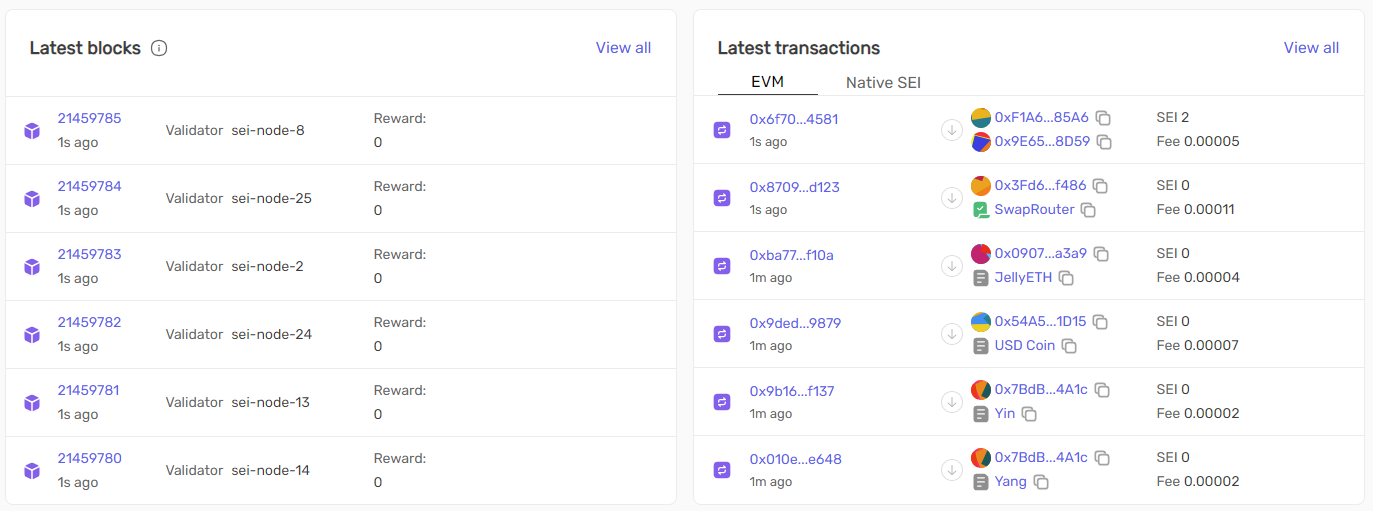
Viewing Your Assets in Your Wallet
Users can navigate to the new block explorers for Sei V2: SeiTrace and SeiStream. These explorers support both EVM and Native Sei. Simply search for your wallet address to view the assets you're holding in that address.
Notes on Dual Address Support
The Sei V2 upgrade introduces dual address support, meaning you can onboard to the Sei blockchain using two types of wallet addresses: 0x addresses (commonly used in the Ethereum ecosystem) and Sei addresses (native to the Sei blockchain). Both address types are supported on Sei, and each Sei wallet address has a corresponding 0x address derived from your public key on Sei.
By following this guide, you should now be equipped to navigate the Sei V2 with ease. Sei Less, do more.